![]()
Diary
5/23/06
Momentum abounds!
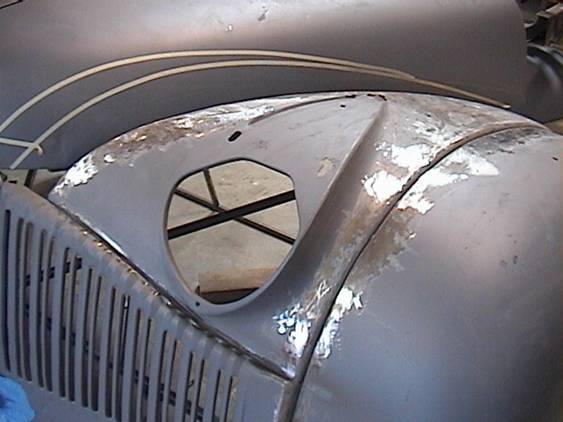
Joe Montalto came yesterday as scheduled and spent the entire day strategizing, sketching, measuring, and discussing the car with me. He returned today with his helper, Jason, and we basically took the car apart. The front end, which was mocked up, came off and was modified, with the hood getting lowered about 4” at the front, and will get another 2” lower tomorrow.
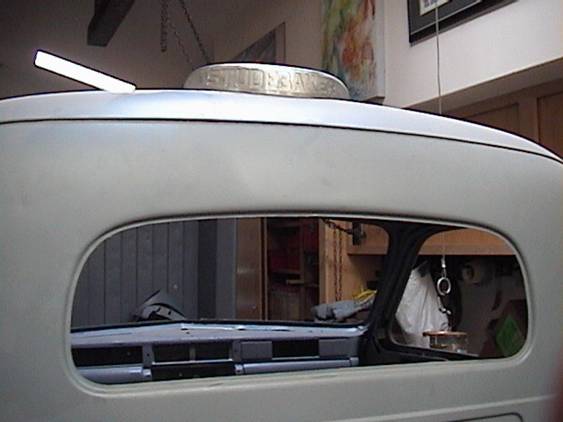
One idea I came up with is to use the Studebaker nameplate off the front end as a brake light on the roof. My intention is to hollow out the letters, put a red lens and LED's behind it for the brakes, and a white light shining down to illuminate the motors.
The motors were taken out, and the bed set on and plans made.
The wheels are off, the frame is leveled and jigged, and some body relationships discussed and altered.
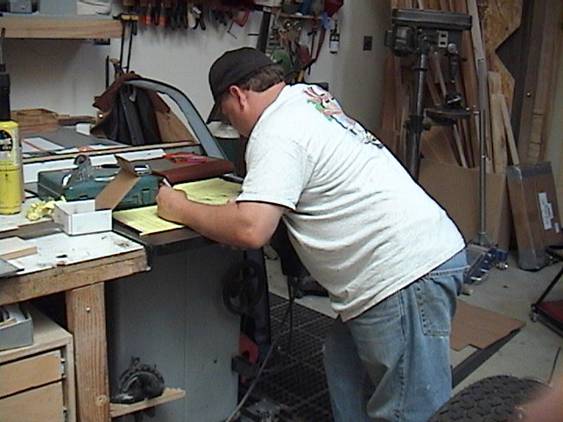
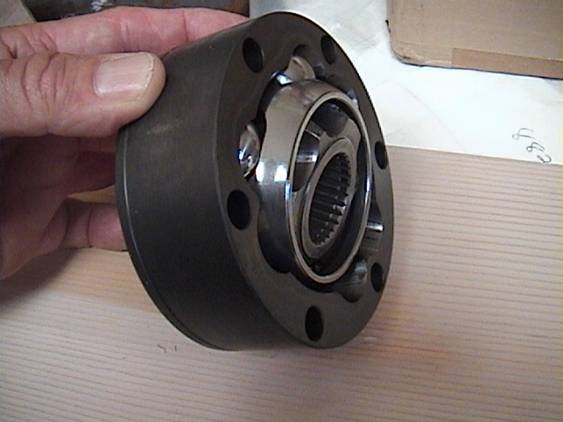
The rear motor was set on a dolly, the front two were put on motor stands after the flywheels and rear covers were removed. Roy pulled off the pans, removed the windage trays, and put the pans back on. Later in the day Roy and I attacked the removal of the front balancers. This would normally be about a 5-minute deal with a correct puller. PAW did not have a three-finger puller. AutoZone sold/leased me their three-finger unit, which was altogether too wimpy to move the balancers, owing mostly to a very small diameter thrust bolt.
I then went to Ollie's Machine and borrowed his box of pullers, none of which worked. I then combined the fingers from the Wimpy unit with some small bolts as pins, and Roy and I spent the next two hours struggling to get the balancers off. It was arduous, painstaking, required enormous patience and cleverness, and we finally got it. Whew!!
I returned the leased Wimpy puller for money, and will give Ollie his stuff back tomorrow (he had left for the night). With some luck Roy and I will get the cranks out on Thursday and over to Ollie for the keyway machining. Later tomorrow I will order the ATI balancers.
On the body front Joe and I decided on 36” steel tubs for the rear wheels, and I will get those ordered later tomorrow, my schedule permitting. I will also need various kinds of sheet metal, etc., and Joe will give me a list tomorrow as well.
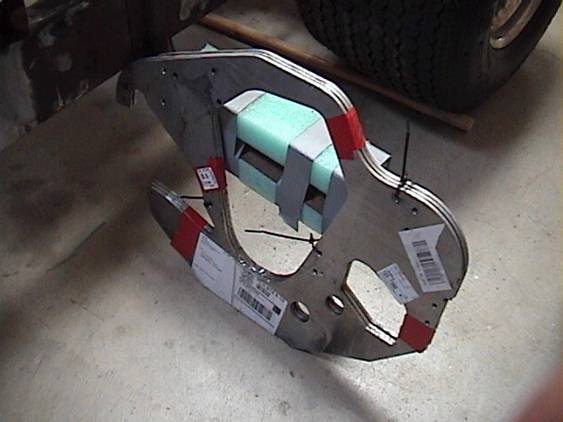
I received the three aluminum engine plates I inadvertently bid and won on ebay, and they appear to have no hope of working at all. They will likely just be for scrap and brackets.
On Saturday 5/22/06 I took the FC to Joe's big car show in Santa Paula, and while running around to Scott's Hotrods, etc., I stopped in to see Kenny Duttweiler. He is the KING of turbo technology, and is a VERY nice man. He and I discussed the KiloKub, and he suggested an entirely different way of coupling the motors. I will not be going his way on the first iteration as I already have the CV's here, and we're going to give them a try. Here's how they will probably look:
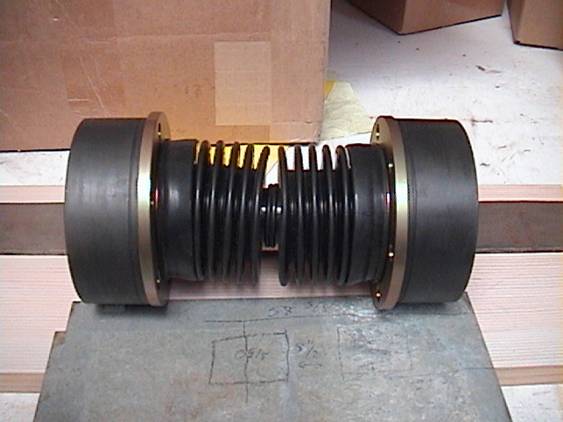
The distance overall is about 9” as shown here. The CV's are about 4.5” in diameter, and are VERY stout. The connection between them, which will be hidden in the dust boots, will be a 28-spline axle shaft.
Kenny also recommended NOT going with the center/side mounts I had planned for the engines, but rather using motor plates at the rears and small mounts at the front. I WILL take his suggestion on that.
5/25/06
Joe has been VERY painstaking on measuring, jigging, and laying out BEFORE doing ANY cutting.
We appear primed to cut the wheel well openings in the bed tomorrow, mount the fenders, and see how it looks. Should the tubs arrive early, we COULD cut them and set them in.
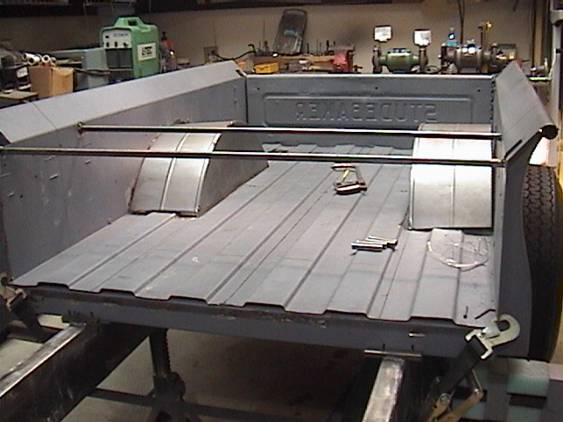
Joe has fabricated new rear body mounts to replace the old crossmember (remember we left it in?). Joe has also started the rear pivot brackets for the bed, boxed affairs which will receive a stout pivot pin. He is going to make the mounting plates on the bed adjustable, unlike the original Lamborghini pivots which are fixed. We also have some cleverness to devise for making a stiffening rail along each side of the bed's bottom cutout opening. The motors require 28”-30” of clear space to let the bed rise and miss the exhaust manifolds. We are cutting about 29” out of the center of the bed, leaving approximately 9.5” of bed bottom along each side. The bed is 48” wide inside. The frame pinches down about 2” on each side just ahead of the rear tires, so we need to have our bed frame miss the tires AND miss the motors, too.
This weekend is Memorial Day weekend, so we may lose a few days with suppliers not open, etc. This would be a GREAT time for some car mags to contact us to begin their coverage of this project.
Speaking of Lamborghini, the straight-up style of door opening hinges now available (at about $800 for the parts) might be a cool deal for this truck, as the front and rear are going up as well.
Joe will be tacking the front end together soon, and given we are OK on the hood rake, leading it all together.
We've taken some measurements on the bed versus the engine height, and the bed side rails look to be perfect for just letting you see the valve covers. Remember, I intend to make these valve covers a little over 7 FEET long each side for the “correct” V-24 look.
We may have to rake the cut in the cab a bit to clear the front hoop of the bed as it interfaces under the rear window. That raked cut might be a good thing, to bring the cab more in agreement with the rake of the hood, much like Foose's Overhaulin' pickup truck.
5/31/06
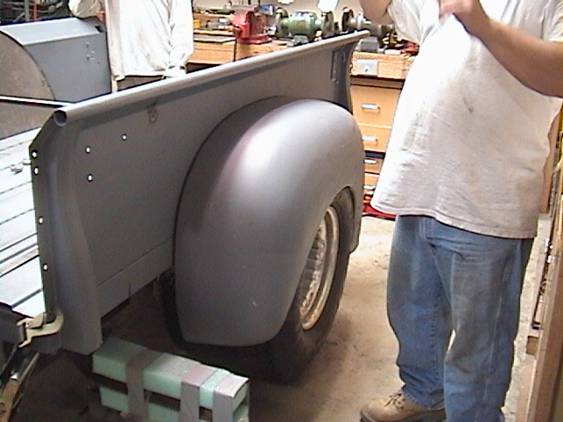
Joe cut the left rear wheel well opening today, set the rear tire loosely on, and checked clearances. As you can see, it's all good.
He will make his final trim cut tomorrow and work on making the wheel tubs, which came yesterday from Summit, although as flat pieces, unassembled.
Joe and his crew also got the front fenders lined up in preparation for tacking and welding the seams.
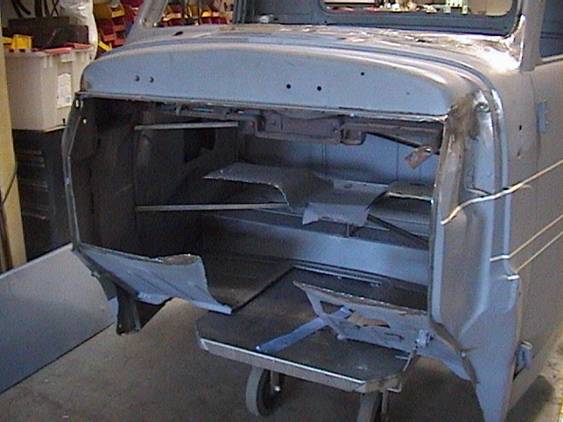
We're going to be removing the firewall entirely, as nothing of it is of any use at this point.
We'll go around the transfer case more neatly once that device is mounted. Speaking of the transfer case, I've decided to bite the BIG bullet and spend about $4K for a Nitro Driveline or SCS case. I just can't see taking any chances at this point, nor having to redo the firewall metal, mountings, frame powder-coating, etc., should the old unit not work well. I HATE having to spend this money, but I'd hate it worse doing it twice. AND, of course it will look bitchin' as billet.
The HUGE rear wheels frankly don't look that overpowering with the fenders on.
Tomorrow should be a day of major accomplishments.
I have begun filming the process, as we have not gotten anyone, any magazine, any TV show, etc. here to document the build.
So as week three commences, we've gotten a lot done:
Engines pulled out and 2 cranks to Ollie for machining
ATI dampers ordered, with some specs to be determined on the keyways, ostensibly at 10 degrees BTDC and at 180 degrees from that.
Cab mount done
Several rust areas repaired
Bed and body bracing in place ready for cuts
Front end reconfigured, tacked, and ready for fitment once the cab is cut (read on below for that)
Several decisions made on door hinge design, pivots, bracing
Tubs fitted
Lots of metal delivered for sheet metal, cracing, tubing, etc.
So this week should see the cab cut. Joe's dad had a GREAT idea on how to fit the front end and upper cab together: roll the bottom half out of the way! Joe took some floor to door window opening measurements, so we have some solid reference points. We'll basically just fit the angle of the cab to match to front end hood slope, and then pie cut the body sectioning to fit onto the lower half of the cab. I'm guessing 9” at the front, 6” at the back.
On the bed we'll cut the front portion loose, slide it forward to its stop, and start filling it back in with the sheet metal and 1.25” tubing we got.
Joe has been EXTREMELY meticulous about setting stops, braces, cut lines, etc., before doing any cutting. And so far, the kids have dialed in the measurements and things have worked as planned. This is NO freehand “let's just see how this looks” approach. NOT at all. I found it a little daunting watching Joe do nothing but measure and draw for almost two weeks, setting out his plan, and get familiar with many relationships in the build BEFORE hacking things up, but the next actual week of work proved him completely right.
His dad is working over the front grille section to make it good.
A SORT OF MISSION STATEMENT AND OVERVIEW OF THE PROJECT
I really feel blessed to have my own Foose-like team of father and son and young apprentices here. Joe keeps the energy REAL upbeat, I come in occasionally to enforce safety regs on ear and eye protection (I am a FREAK about that), and Joe gets the crew tO clean up thoroughly each day, with all tools returning to their places, floors hand swept, etc.
I have commented in my construction work that the owner/client is all about the final product, and we the crew are ALL about the process, since once it's done, we're gone. So we HAVE to have a process which is organized, productive, ethical, fun, clean, safe, challenging, and filled with learning. All 8 mission statement cylinders are firing on our process.
As a moment of contemplation, I will note that I am THRILLED to be creating a lifetime dream of a car, and MORE delighted to have a responsive, responsible, talented, and active crew on it. Roy, Randy, Joe, Brandon, Buzz, and Jay Jay are all critical to this job getting done.
Soon the mechanical challenges will come back into play: setting the engines, coupling them, Salim/ACT getting the trans done, Rob at Nitro Driveline doing the transfer case. There are LOTS of vendors who need to perform, and promptly, for this project to get done, and remain fun. This project in sum will be a collection and integration of superb, high-quality components into a unified, dramatic design that will just blow people's minds. And that is the REAL good part. So much for the mission statement. More money to make and spend, and LOTS of engineering decisions to create and decide.
![]()